Creating a beautiful garden space can feel overwhelming, especially if you’re working with limited room. I’ve been there, searching for ways to bring greenery into my life without sacrificing style or space. That’s why I created this post. I want to share some fantastic DIY elevated planter box ideas that can transform even the smallest of areas into a vibrant oasis. With the right designs, you can cultivate herbs, flowers, or vegetables while adding a touch of charm to your outdoor space.
If you’re a gardening enthusiast or someone who dreams of a lush garden but faces space constraints, you’re in the right place. These DIY elevated planter boxes are perfect for small spaces, offering creative, functional solutions that look stunning. You don’t need to be a woodworking expert to pull these off; they’re designed for anyone who loves to get their hands dirty and wants to beautify their surroundings.
In this post, you’ll discover eight unique elevated planter box ideas that are not only easy to build but also aesthetically pleasing. From chic vertical towers to rustic cedar beds, there’s something here for every taste and skill level. You’ll find practical tips and inspiring designs that will help you get started on your next DIY gardening project. Let’s dive in and explore how you can elevate your gardening game!
Key Takeaways
– Variety of Designs: Discover eight different elevated planter boxes, from chic to rustic, that fit various styles and preferences.
– Space-Saving Solutions: Learn how these planters maximize vertical space, making gardening possible in even the tiniest yards or balconies.
– DIY Accessibility: These projects are designed for all skill levels, ensuring that anyone can create beautiful planter boxes with just a few materials.
– Functional and Stylish: Each design is not only practical for growing plants but also adds a decorative touch to your outdoor space.
– Step-by-Step Guidance: Get inspired and informed with clear building instructions and ideas to help you successfully create your own elevated planter boxes.
1. Chic Vertical Planter Tower
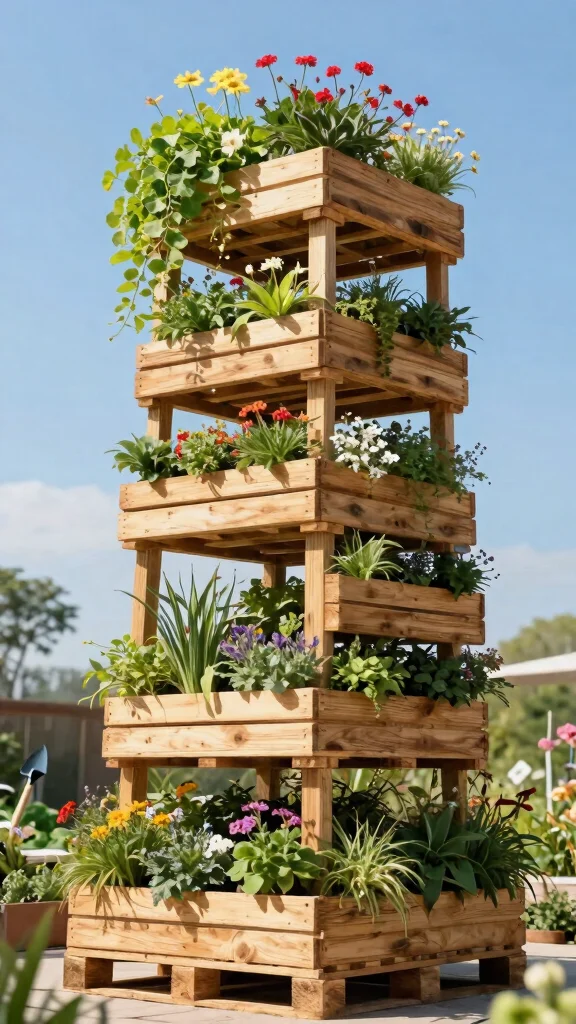
If you’re short on space but big on gardening dreams, a chic vertical planter tower is the answer! This eye-catching design features tiered levels, allowing you to cultivate various plants without taking up precious ground space. Imagine vibrant herbs and flowers cascading down, creating a stunning visual impact in your garden.
Building this tower is straightforward. Use wooden pallets or planks that you can easily cut to your desired height. Fill each tier with rich soil and plant your favorite herbs, succulents, or bright flowers. This setup not only conserves space but also becomes a beautiful centerpiece in your outdoor area.
Key considerations to keep in mind:
– Secure each tier to withstand wind gusts
– Choose lightweight materials for easy movement
– Incorporate a drip tray at the bottom to manage excess water
With this elevated planter, you’ll enjoy a practical and visually appealing addition to your garden that’s sure to impress!
Chic Vertical Planter Tower
Editor’s Choice

Garden Tools Set, 3 Pack Heavy Duty Gardening Tools Set Include Garden S…

YBING Vertical Garden Planter 5 Tier Raised Garden Bed Outdoor Tiered He…

Miracle-Gro Potting Mix – For Container Plants, Flowers, Vegetables, Shr…
2. Rustic Cedar Raised Bed
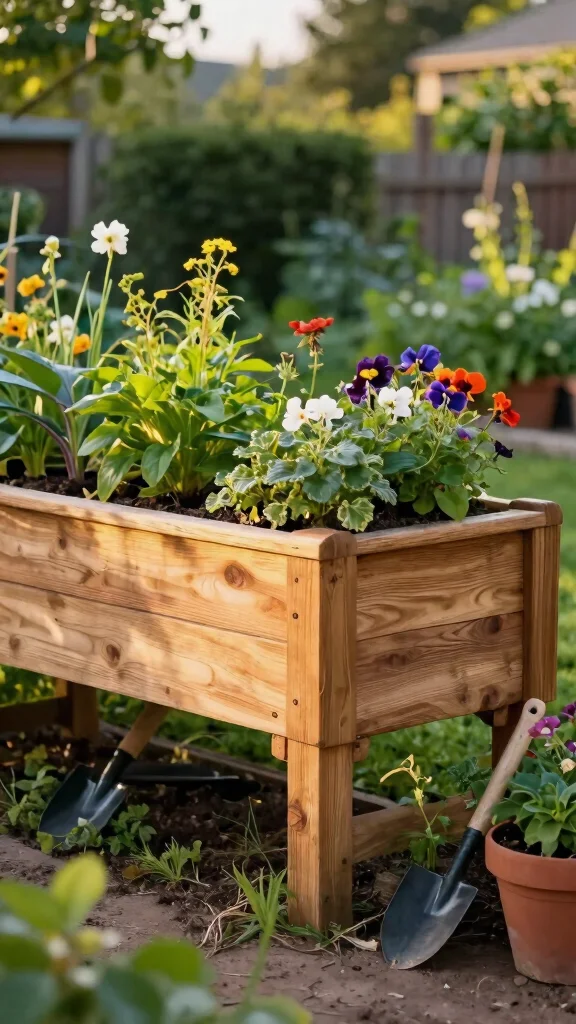
For a timeless touch in your garden, a rustic cedar raised bed is a perfect choice. Crafted from durable cedar wood, this elevated planter not only looks great but also offers ample space for your plants to flourish. The warm tones of cedar create a stunning contrast against any backdrop.
Cedar’s natural resistance to decay ensures your planter will stand the test of time. Create a simple square or rectangular shape, or even integrate it into existing landscapes for a seamless look. Fill it with nutrient-rich soil to support your favorite vegetables, herbs, or flowers.
To enhance your raised bed, consider these tips:
– Apply non-toxic wood sealants for protection
– Ensure proper height for drainage
– Monitor soil moisture regularly
This rustic cedar raised bed not only serves as a functional gardening solution but also becomes a captivating focal point in your garden or patio.
Fun fact: Cedar’s natural rot resistance keeps elevated planter boxes diy thriving for 10+ years with minimal maintenance. Build a simple square frame and seal the ends for durability, while the warm cedar tones boost any garden backdrop. Practical, stylish, and easy.
Rustic Cedar Raised Bed
Editor’s Choice

Wensilon #10 * 3″ Deck Screws, (137pcs) 2 lbs.Exterior Wood Screws, Rust…

12 Pack Cedar Planks for Grilling Salmon and More – Sourced and Made in …

Thompson’s WaterSeal Multi-Surface Waterproofer Stain, Clear, 1 Gallon
3. Modern Metal Planter Box
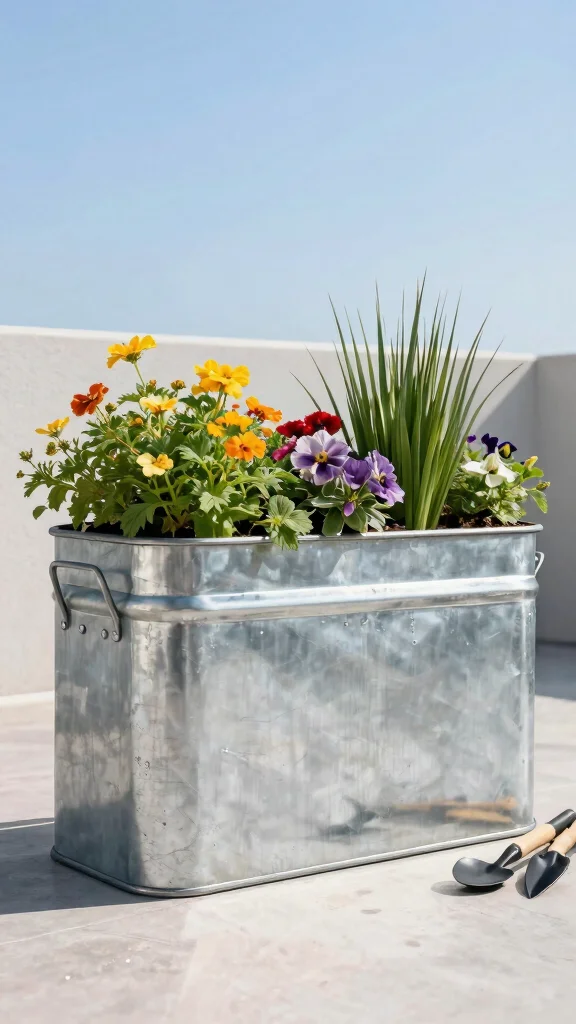
Elevate your outdoor space with a sleek modern metal planter box! Perfect for contemporary gardens, these planters are made from materials like galvanized steel or corten metal, offering both durability and style. Their unique look blends seamlessly with various garden themes.
You have the flexibility to create different shapes and sizes, such as long and narrow for herbs along a balcony, or wide and square for an eye-catching centerpiece. The metal surface reflects sunlight beautifully and pairs wonderfully with colorful plants.
Before you start, remember these key points:
– Choose the appropriate size for your plants
– Position for maximum sunlight exposure
– Use protective liners to prevent rust
This modern metal planter box combines functionality with a chic aesthetic, making it an essential addition to your garden.
📹 Related Video: How to Build Steel Raised Garden Beds
Modern Metal Planter Box
Editor’s Choice

Corten Steel Planter Box 36″ L x 15″ W x 15″ H,Large Rectangular Planter…

Galvanized Steel Planter Box Black Metal Planter 24Inch Large Square Ind…
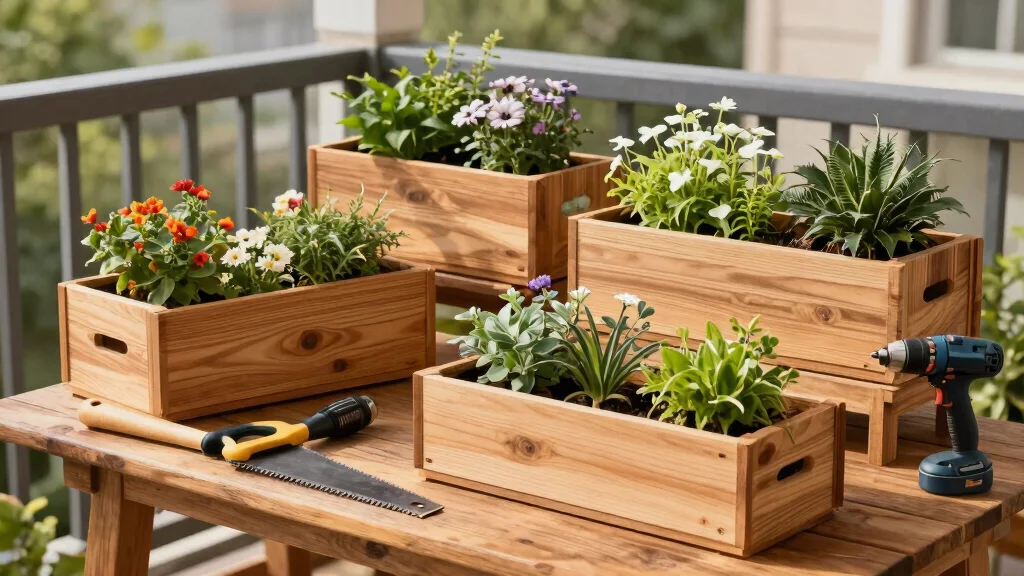
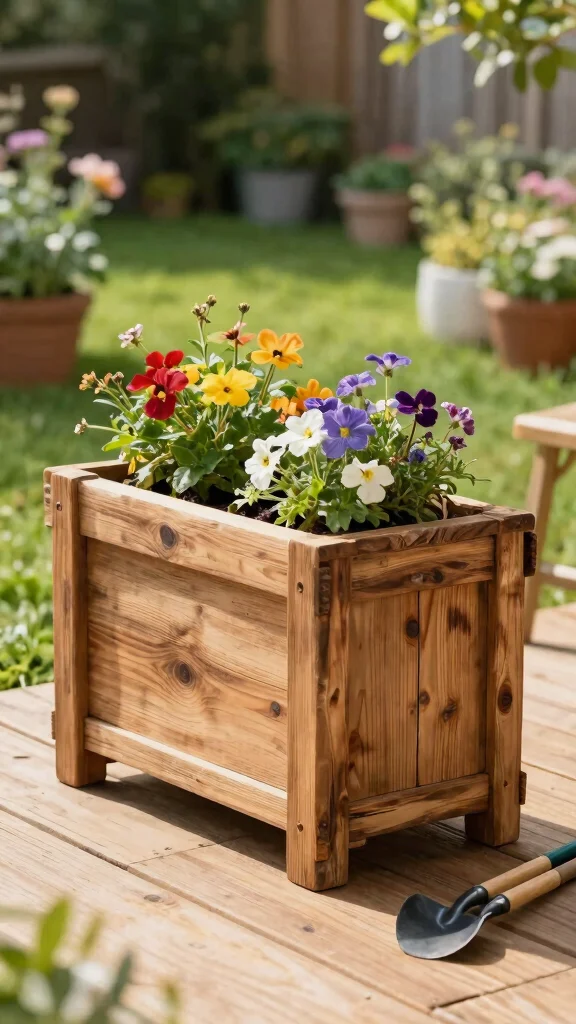
4. Colorful Pallet Planter
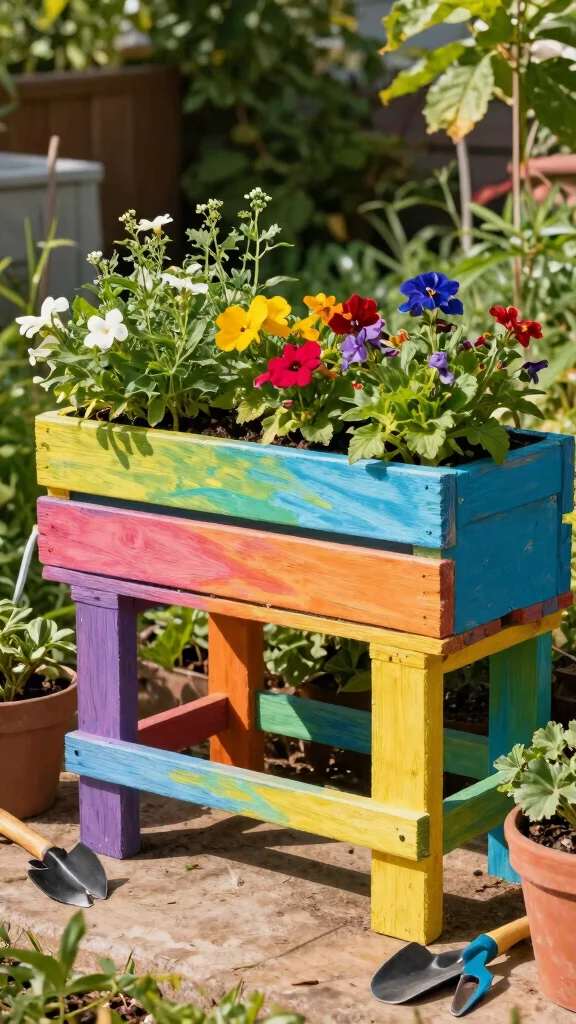
Add a burst of color to your garden with a fun colorful pallet planter! This easy DIY project not only brightens your outdoor space but also offers a whimsical touch. By sanding and painting old wooden pallets, you can create a vibrant planter that truly stands out.
Transform the pallets into a rectangular structure and elevate it on legs to make gardening accessible and enjoyable. You can fill it with a delightful mix of flowers, herbs, or even small vegetables for a beautiful and productive display.
Here are some tips for your project:
– Use weather-resistant paint to keep colors vibrant
– Choose plants that grow well together for a cohesive look
– Add a trellis to support climbing plants
This colorful pallet planter is a creative expression of your gardening passion, bringing joy and style to your outdoor space.
You might also like

Difficulty Rating & Requirements
Overall Difficulty Rating: Medium
Building elevated planter boxes DIY can be a fun and fulfilling project. However, it does require some basic woodworking skills and access to tools. This project is suitable for those who are comfortable with hands-on tasks and want to add a personal touch to their garden.
Time Estimate:
⏱ Estimated time: 3 to 6 hours per planter, depending on complexity.
– Design & Planning: 1 hour for sketching and gathering materials.
– Cutting & Assembly: 2 to 4 hours, depending on the design chosen.
– Finishing Touches: 1 hour for painting, sealing, or any additional decor.
Skill Requirements:
– Required skills: Basic woodworking skills, measuring, and cutting wood.
– Beginner-friendly: Yes, with proper guidance and patience.
– Skills that can be learned include measuring and using basic tools like a saw and drill. More advanced joinery techniques may require some prior experience.
Tools & Materials Needed:
🧰 Essential items checklist:
– Lumber (cedar or treated wood) – Required for structure.
– Saw (hand saw or power saw) – Required for cutting wood.
– Drill – Required for assembling parts and making drainage holes.
– Screws or nails – Required for fastening components together.
– Sandpaper – Required for smoothing edges.
– Wood stain or sealant – Optional for additional weather protection.
– Measuring tape – Required for accurate dimensions.
– Paintbrush or roller – Optional for applying stain or sealant.
Step-by-Step Overview:
1. Design & Planning (1 hour): Decide on the style and size of your elevated planter. Create a simple sketch and gather materials.
2. Cutting Wood (1-2 hours): Measure your wood according to your design. Cut the pieces carefully using your saw.
3. Assembling the Planter (1-2 hours): Start by building the frame. Use screws or nails to secure the joints firmly. Make sure the structure is stable.
4. Finishing Touches (1 hour): Sand down any rough edges. Apply wood stain or sealant if desired for added longevity. Allow adequate drying time.
Cost Comparison: Professional vs DIY:
Building your own elevated planter boxes can save you a significant amount of money. A professional installation might cost you anywhere from $200 to $600 for a single planter, depending on size and materials. In contrast, a DIY approach can run you about $50 to $150, depending on the materials you choose. If you have the tools and skills, DIY is a great option. If not, hiring a professional might be the way to go. Be sure to weigh your options carefully before deciding!
Colorful Pallet Planter
Editor’s Choice
EARTH ELEVATED – Platform Feet Set for Elevated Garden Bed for Gardening…

Shuttle Art 25 Colors Outdoor Acrylic Paint Set, 2oz/60ml Waterproof Acr…

4 Pack Hand Sanding Sponge Set -120 220 320 400 Grit- Coarse Medium Fine…
5. Vertical Herb Garden Frame
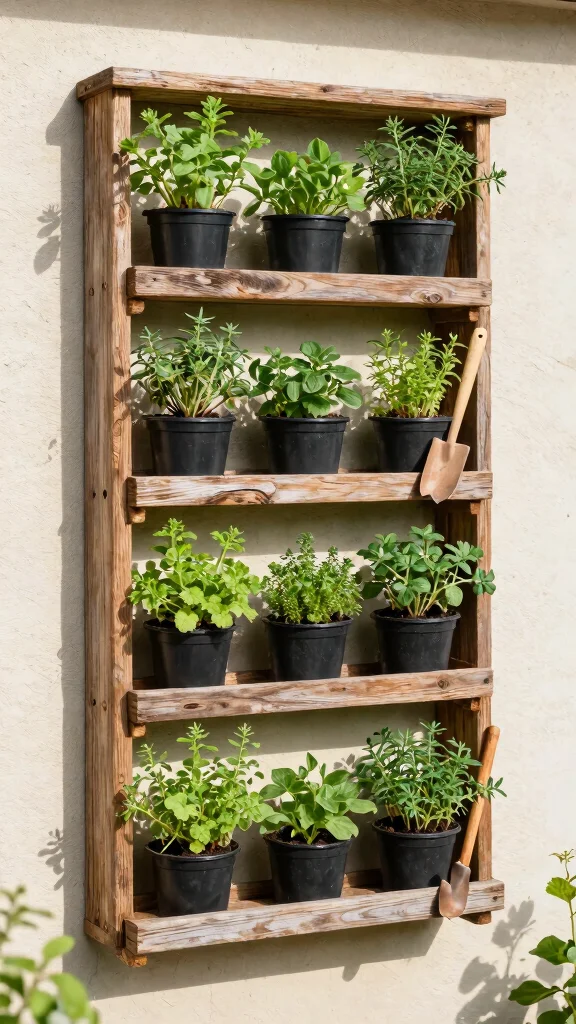
Imagine having fresh herbs at your fingertips with a vertical herb garden frame! This clever design saves space while keeping your favorite cooking herbs easily accessible. You can create it using a simple wooden frame or even a repurposed ladder, attaching small pots for each herb.
The charming look of this frame adds character to your garden while serving a functional purpose. You can personalize it by painting the frame to match your outdoor decor or leaving it natural for a rustic vibe.
Helpful suggestions for this project include:
– Use potting soil that drains well
– Select herbs like basil, parsley, and cilantro that thrive in vertical settings
– Incorporate a watering can or drip system for maintenance ease
This vertical herb garden frame brings practical gardening solutions right to your kitchen, enhancing every meal with fresh flavors.
Vertical Herb Garden Frame
Editor’s Choice

Yaheetech 43.5″ L×16″ W×14″ H Wooden Raised Garden Bed, Horticul…

Barnyard Designs Indoor Herb Garden Planter Set with Tray, Metal Windows…
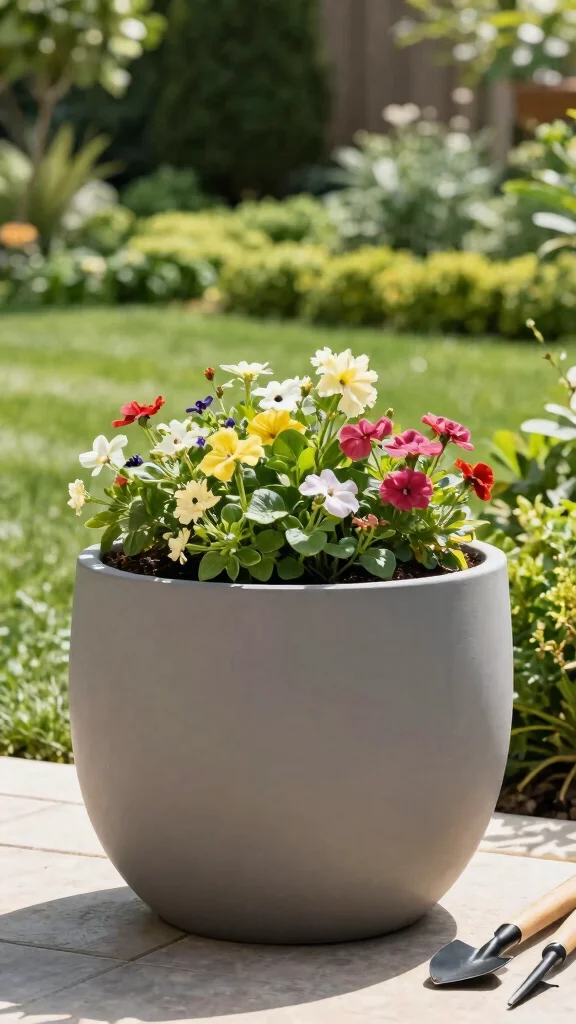
6. Simple Concrete Planter
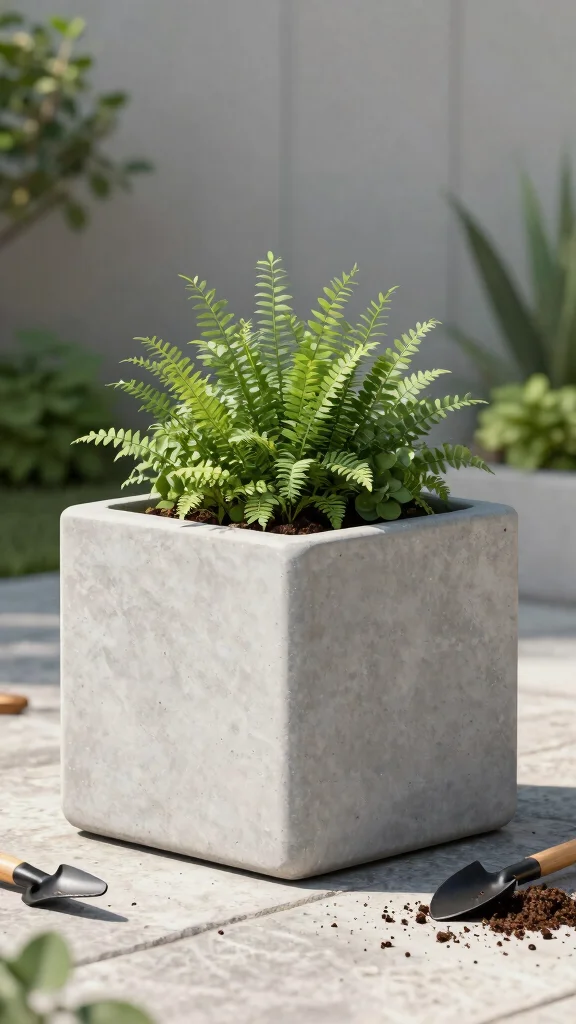
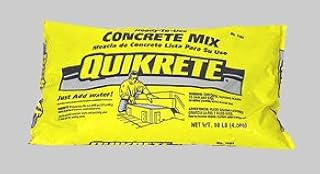
For a sleek and modern touch, consider crafting a simple concrete planter! This elevated planter box is super durable and perfect for outdoor use, withstanding various weather conditions. The versatility of concrete allows you to create different shapes, from square to cylindrical designs.
Gather concrete mix, a mold for your desired shape, and be patient as it cures. Once set, personalize it by painting or staining the concrete to complement your outdoor decor.
Key tips for success include:
– Use a sealant to guard against moisture
– Ensure adequate drainage holes at the base
– Pair with lush foliage for a striking contrast
This simple concrete planter not only meets your gardening needs but also enhances the contemporary look of your outdoor space.
Who says small balconies can’t wow? Concrete planters—mold your own sleek shapes and let them cure—bring modern charm to tight spaces, and with a little patience, your elevated planter boxes diy become sturdy outdoor decor you’ll want to show off.
Simple Concrete Planter
Editor’s Choice

1 Pc Floral Relief Resin Silicone Planter Mold 3D Daisy Flower Concrete …

KILZ 1-Part Epoxy Acrylic Concrete & Garage Floor Paint, Slate Gray, Sat…
7. Stylish Reclaimed Wood Planter
Embrace sustainability with a stylish reclaimed wood planter! Using salvaged wood not only benefits the environment but also gives your elevated planter box a unique charm. Each piece of reclaimed wood carries its own story, adding texture and character to your garden.
You can create a simple box or get creative with intricate designs. A rustic finish can be achieved by sanding the wood and applying natural oil. Fill your planter with vibrant flowers, vegetables, or decorative grasses for an elegant touch.
To ensure your planter lasts, keep these tips in mind:
– Use non-toxic sealants for protection
– Consider adding a liner to keep soil in place
– Choose a sunny and accessible location
This stylish reclaimed wood planter enhances your garden’s aesthetics while promoting eco-friendliness.
You Might Also Like

Stylish Reclaimed Wood Planter
Editor’s Choice


HOPE’S 100% Pure Tung Oil, Food Safe, Premium Waterproof Natural Wood Fi…
8. Elegant Composite Planter
For a polished and sophisticated look, consider an elegant composite planter! Made from a blend of recycled materials and synthetic substances, composite planters offer the beauty of wood with added durability. Available in various colors and designs, they can easily match your garden style.
These planters are lightweight and easy to move, resisting fading and cracking, so your plants stay vibrant and healthy. When choosing your garden design, keep these tips in mind:
– Opt for colors that complement your outdoor decor
– Ensure proper drainage for plant health
– Combine with an array of flowers or greenery for a lush display
An elegant composite planter elevates your garden’s sophistication while being practical and long-lasting.
Fun fact: Elegant composite planters blend recycled materials with synthetic fibers, delivering wood-like beauty with up to 30% lighter weight. They resist fading and cracking, so your elevated planter boxes diy garden stays vibrant for seasons.
Elegant Composite Planter
Editor’s Choice

Raised Garden Bed Outdoor Tan/Brown Ledgestones Composite Polyurethane N…
Conclusion
Creating elevated planter boxes combines practicality with aesthetic appeal. With these eight DIY designs, you can enhance your outdoor space, whether you have a large garden or a tiny balcony. Each option allows you to express your style while engaging in the joys of gardening.
Don’t hesitate to pick a project that resonates with you and let your creativity flourish. Gardening should be a pleasure, and these DIY elevated planter boxes will surely make it a rewarding experience!
Note: We aim to provide accurate product links, but some may occasionally expire or become unavailable. If this happens, please search directly on Amazon for the product or a suitable alternative.
This post contains Amazon affiliate links, meaning we may earn a small commission if you purchase through our links, at no extra cost to you.
Frequently Asked Questions
What should I look for when choosing elevated planter boxes diy for a small space?
Start with the goal: more growing space without crowding your area. Look for vertical gardening solutions that fit a small footprint and are easy to assemble as part of DIY gardening projects.
Check for sturdy frames, weather‑resistant materials (cedar, redwood, or powder‑coated metal), and built‑in drainage. Choose a plan that matches your skill level and space; the article features 8 elevated planter boxes diy that are both practical and beautiful.
Also consider sun exposure and plant types to decide planter size and depth.
What materials are easiest and most durable for DIY elevated planter boxes?
For durable and easy to work with elevated planter boxes diy, start with naturally rot resistant woods like cedar or redwood, or use exterior grade plywood with a waterproof seal.
For frames, metal rails or aluminum are very durable and lightweight. Add a breathable liner and a drainage layer (gravel or landscape fabric) to protect roots and prevent rot.
This setup keeps handmade planter designs long lasting in varied weather.
How do I assemble a simple vertical elevated planter box?
First, pick a plan that fits your space and make a quick cut list. Then cut the boards, sand edges, and assemble the outer frame. If your design uses dividers or shelves, install those, add a liner and drainage holes, and secure the box on a stand or against a wall. Finally, fill with potting mix and compost, place in a sunny spot, and water regularly. The article’s 8 DIY options walk you through beginner‑friendly steps for each handmade planter design.
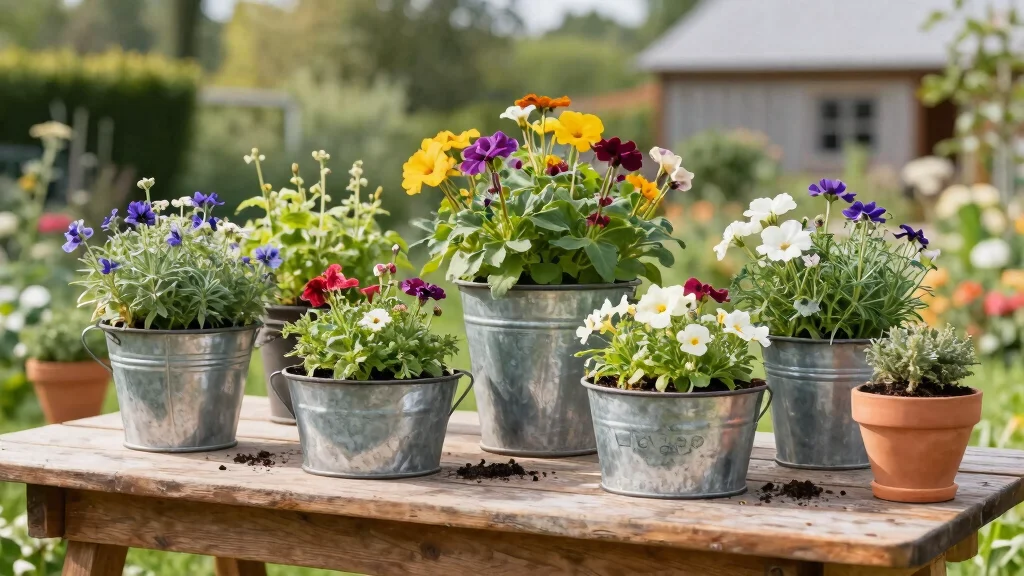
Which plants work best in elevated planter boxes for small spaces?
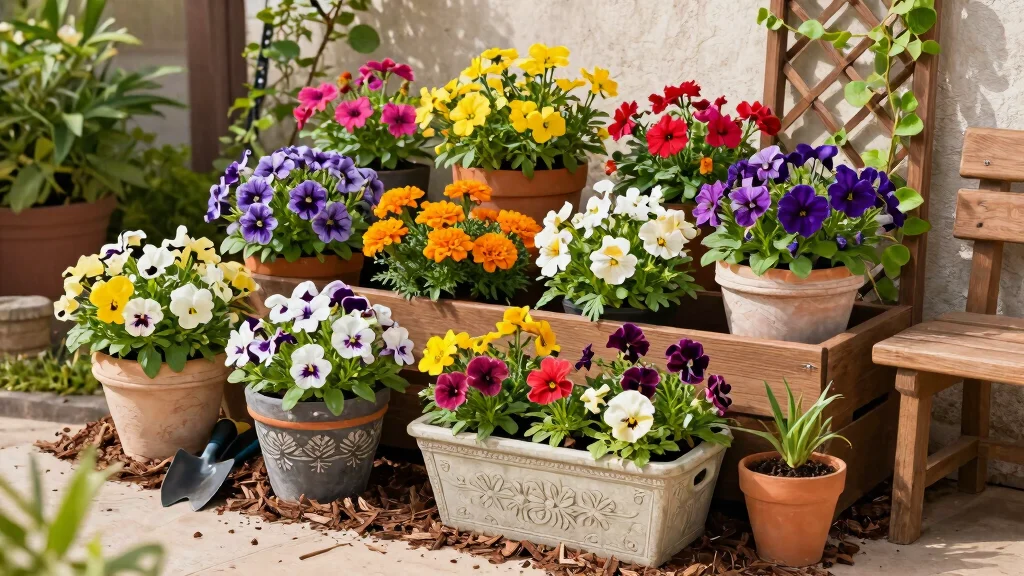
Herbs, leafy greens, and compact vegetables shine in vertical elevated planter boxes. Try basil, chives, lettuce, spinach, and kale for shallow beds, plus compact tomatoes or peppers for sunny spots. You can also grow strawberries or colorful annuals to boost curb appeal. Plan spacing so roots aren’t crowded, and group sun-loving plants together for the best results with outdoor planter ideas.
How can I maintain and extend the life of handmade planter designs?
Seal wood annually and inspect for rot or loose joints before each season. Make sure drainage isn’t blocked, and use a liner to protect wood from moisture. In freezing climates, consider moving boxes indoors or off the ground during winter. Rotate crops to reduce soil fatigue, and top with mulch to reduce evaporation. Regular care will help your elevated planter boxes diy stay beautiful year after year.
Related Topics
elevated planter boxes
DIY gardening projects
vertical gardening
small space gardening
raised garden beds
handmade planters
outdoor decor
easy DIY
budget gardening
beginner friendly
garden design
container gardening